Elsie Martin
Wood Carver Of Western North Carolina
Elsie Martin’s life began in a time of change in the lives of the men and women of rural Appalachia. Her mother could have been one of the characters depicted in her husband’s carvings (Wayne Martin). Elsie and her many siblings lived as children on their grandfather’s large farm in Fairview, NC.
After high school Elsie hoped to attend Berea College, but her mother became ill, and Elsie stayed home to take care of her. World War II opened up a new world of experiences and opportunities. Mrs. Martin was proud that she traveled alone to New York to visit her husband Wayne before he was shipped out to war. Wounded in battle, Wayne came home unable to do the backbreaking physical labor his father had done. But Interest in Appalachian crafts was growing, and Wayne found that he could earn a living carving figurines and musical instruments. He and his brother Wade both sold figurines at the Appalachian Craft Shop on Wall Street.
As children, Elsie Martin and her siblings picked berries to sell before going to school. After marriage she did factory work for many years. Seeing that people were eager to buy her husband’s carvings, she decided to try her hand at whittling. She taught herself to carve flowers after buying one from someone selling them on the Parkway. Soon she was selling the flowers she carved, as well as Christmas trees and cocky little roosters in singles and pairs.
She obtained the wood for her carvings by combing the nearby mountainsides for the perfect twigs: maple for the flowers, poplar for the trees.
Elsie Marlowe and Wayne Martin grew up in the same community, and Elsie was close to the Martin family. After Wayne’s death, Elsie married his younger brother Edsel. They worked together well, marketing their crafts and demonstrating their work through the Southern Highland Handicraft Guild and other outlets. Elsie Martin’s second husband Edsel Martin was known primarily for his bird carvings.
Courtesy of Pack Library NC Room
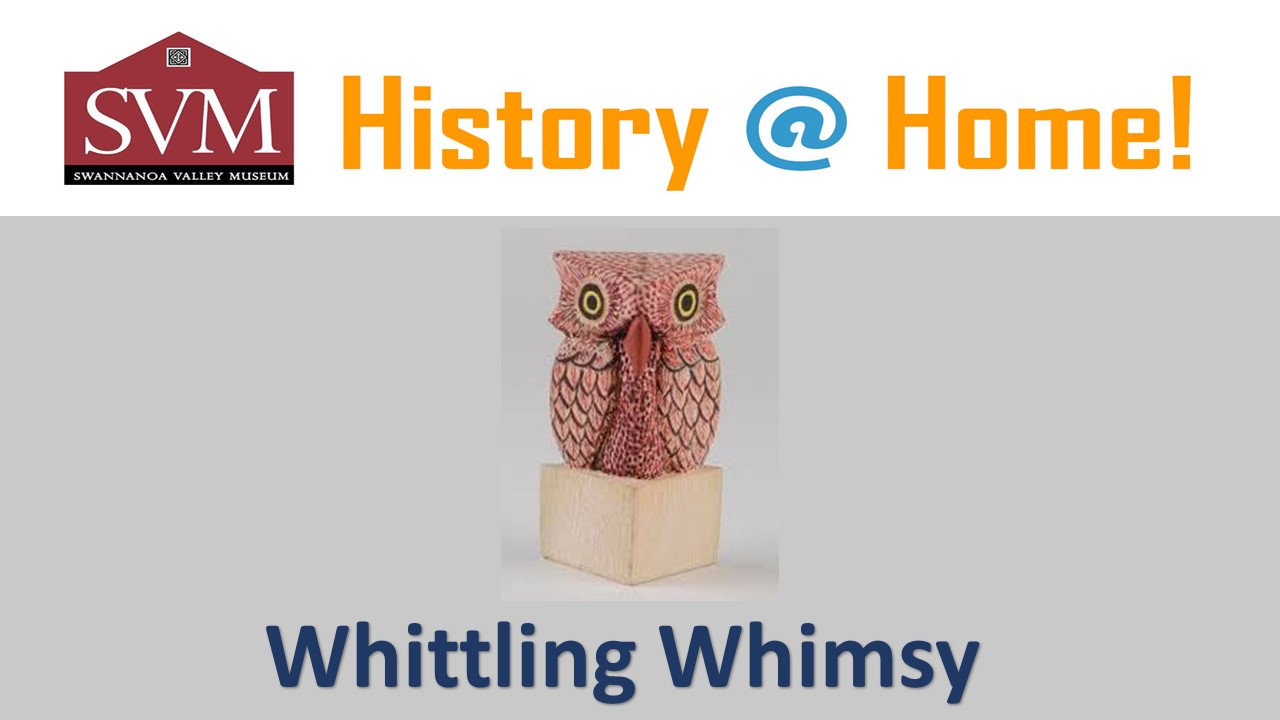
Whittling Whimsy Project: Whittle an Owl
Materials
Pine or maple stick 65×65 cut in half will give you 2 blanks
Carving Knife
Sandpaper or Emery Boards
Pencil
Flexible Ruler
Step 1
Draw a line 20mm up from the base and draw the design to both front facing edges. Then mark the outline of the eyes and beak with a knife. The wings can then be marked out in the same manner. Then shape the breast. Add a little more depth to the wings. Removing wood from both sides at the back of the head creates the ears effect,
Step 2
The top of the head should be sloped forward by about 15 degrees. Remove wood from both sides of the beak in the neck area with a small gouge, and then finish by sanding or with scrapers.
Step 3
Use a felt tip calligraphy pen to add details to the face and wings of the owl. Then spray or paint on a sealant.